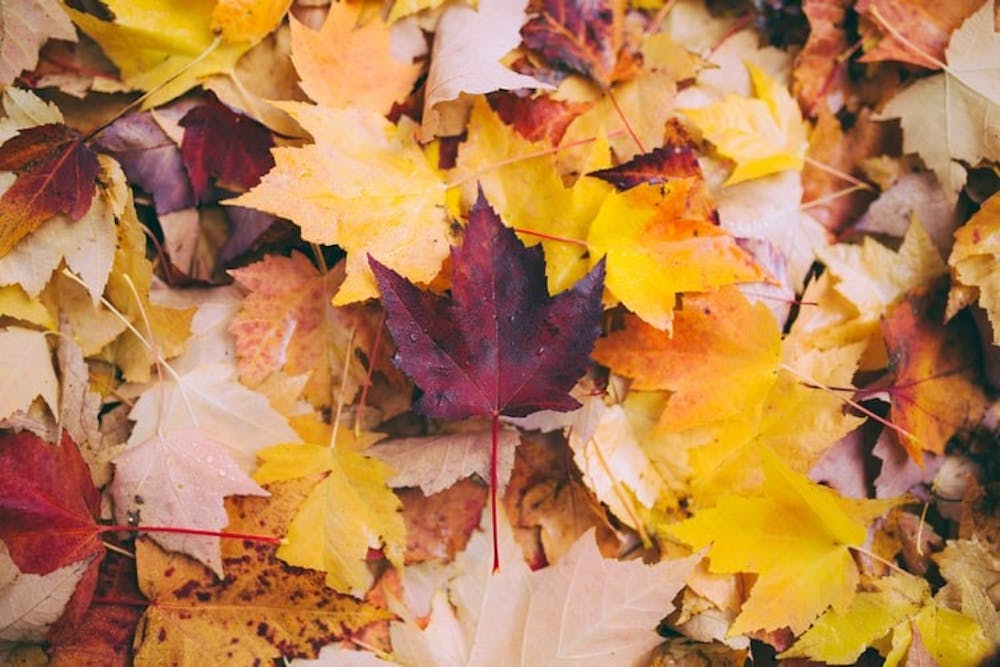
Autumn is finally here, and alongside the crisp air and colorful leaves, fall decorations are beginning to pop up in stores and on porches around Muncie. As the fall holidays quickly approach, it is time to prepare yourself and your home for the fun that lies ahead with these three do-it-yourself room decorations for the new season.

Cork pumpkin
What you need:
- 25 corks
- Orange acrylic paint
- Paint brush
- Hot glue gun
- Knife
- Fake leaves (optional)
Directions:
- Lay four corks in a row on their sides horizontally.
- Glue the four corks together along their sides, making sure they are even and dry before continuing to glue.
- Beginning on top of and in the center of the four corks you have already glued, glue together a row of five more corks. Begin gluing between the second and third corks of your first row of four corks and continue outward, gluing the next five corks together on their sides.
- Again, begin on top of and in the center of your second row of five corks and glue together a row of six corks. Begin in the center and work your way outward, making sure the new row is centered.
- Once your row of six corks is completed, glue another row of five corks above the row of six corks.
- Glue another row of four corks on top of the row of five corks.
- You should now have a row of four corks on the top and bottom, a row of five corks beneath and above those, and a row of six corks in the middle of your cork pumpkin.
- Once the glue has dried, paint the front and back of the pumpkin with orange acrylic paint. It may be necessary to paint two coats on both sides of the cork pumpkin to make the orange brighter and more vibrant.
- Once the paint has dried, use the hot glue gun to glue fake leaves to the top of your cork pumpkin. Let dry.
10. Finally, use a knife to cut a cork in half to create the stem of your cork pumpkin.
11. Use hot glue to glue the stem in place on top of the fake leaves.
12. Enjoy your cork pumpkin and use it to decorate your desk for the fall.

Ball jar leaf candle
What you need:
- One Ball jar
- Fake leaves
- Hot glue gun
- Candle (real or fake)
- Twine (optional)
Directions:
- Remove any price stickers on the Ball jar and wash it inside and out.
- Remove the lid of the Ball jar and set it aside.
- Using a hot glue gun, put glue on the top and bottom of a fake leaf, leaving most of the leaf without glue.
- Place this leaf toward the bottom of the outside of the Ball jar and wait for the glue to dry.
- Continue to glue leaves up the sides of the Ball jar until the Ball jar’s glass is no longer visible. Be careful not to overlap the leaves too much.
- Once the glue has dried, take twine and tie it in a bow around the neck of the Ball jar, wrapping it around multiple times for a thicker appearance.
- Pick either a fake or real candle and place it in your Ball jar.
- Turn on or light said candle.
- Enjoy your fall candle light on your nightstand or desk.

Ball jar scarecrow
What you need:
- One large Ball jar
- White, orange and yellow acrylic paint
- Black marker
- Paint brushes or sponge brushes
- Hot glue gun
- Burlap
- Fake straw or hay
- Twine
Directions:
- Remove any price stickers on the Ball jar and wash it inside and out.
- Remove the lid of the Ball jar and set it aside.
- Using a large paint brush or sponge brush, apply one coat of white paint to the outside of the jar.
- Once the first coat of paint is dry, apply a second coat and let dry again.
- Continue applying coats of white paint until it is thick enough that the glass is no longer see through.
- While the white paint dries, cut four triangles ( each 4 inches long and 3 inches tall) out of the burlap. These triangles will serve as the hat for your scarecrow.
- Take four to five pieces of hay or straw and weave them evenly throughout the holes in the burlap triangle. Do this for each of the cutout triangles.
- Take the outer band of the Ball jar lid and add a small dot of hot glue to one spot on the outside.
- Press the center of the bottom of one burlap triangle to the glue and hold it until it is dry.
10. About ½ an inch over from that hot glue spot, add another dot of hot glue to glue down one side of the burlap hat. The other side will remain loose.
11. Continue this process around the rim of the lid until all four burlap triangles are glued on.
12. While the glue on the hat dries, draw the eyes and mouth of the scarecrow with marker directly onto the white paint, being careful not to press too hard so the paint doesn’t rub off.
13. Add the scarecrow’s nose, mouth and other features with orange, yellow and white paint.
14. Once the hat is dry, take about 8-10 inches of twine and weave it through random holes at the top of the burlap triangles. Tie the triangles together to secure.
15. Enjoy your Ball jar scarecrow.
Contact Taylor Smith with comments at tnsmith6@bsu.edu or on Twitter @taynsmithh.


