Emily Griffis is a senior literature and creative writing major and writes DIYs for The Daily News. Her views do not necessarily agree with those of the newspaper or The Daily. Write to Emily at epgriffis@bsu.edu.
As a college student, small living spaces challenge creativity when it comes to storage. With a lot of empty wall space, and an extreme lack of counter space, I set out to search for an easy, cost-effective solution.
|
|
Step 1:
Find a piece of useable wood for the project. I used a sturdy piece of 2x4 wood about 28 inches long. You can use any length – it depends on personal preference and the number of jars you want to hang from it.
You can usually find wood precut at certain lengths in most hardware stores. If not, find your friend that is most savvy with power tools and ask them to help you out.
Step 2:
Paint to your heart’s desire. Choose whichever color matches your décor, stain it, or even weather it for a more rustic look. If you decide to paint, I found I needed about two coats for a clean look, and one coat for an older, more vintage look.
Step 3:
Decide how many jars you want on your storage hanger, and whether you’ll hang it vertically or horizontally. This usually depends on the wall space you have, as well as what you plan to put in the jars (or how far the contents will stick up out of them).
Using your tape measure, mark small, equidistant lines with your pencil on the board, one for each mason jar. Using the marks you made, attach your pipe clamps. You can find these at any hardware store that carries plumbing supplies. They come in many different sizes, but I found that the “3 1/16 to 4” inch pipe clamps fit both the one cup mason jars and the larger, three cup mason jars.
Use your drill to screw on one pipe clamp for each jar, based on the marks you made. Screw them tight enough not to spin on their own, but not super tight, so you can still apply a little pressure to rotate them later on.
(Note: Make sure you use flat headed screws. Screws with round heads run a risk of breaking the jars once they’re tightened into the clamps.)
Step 4:
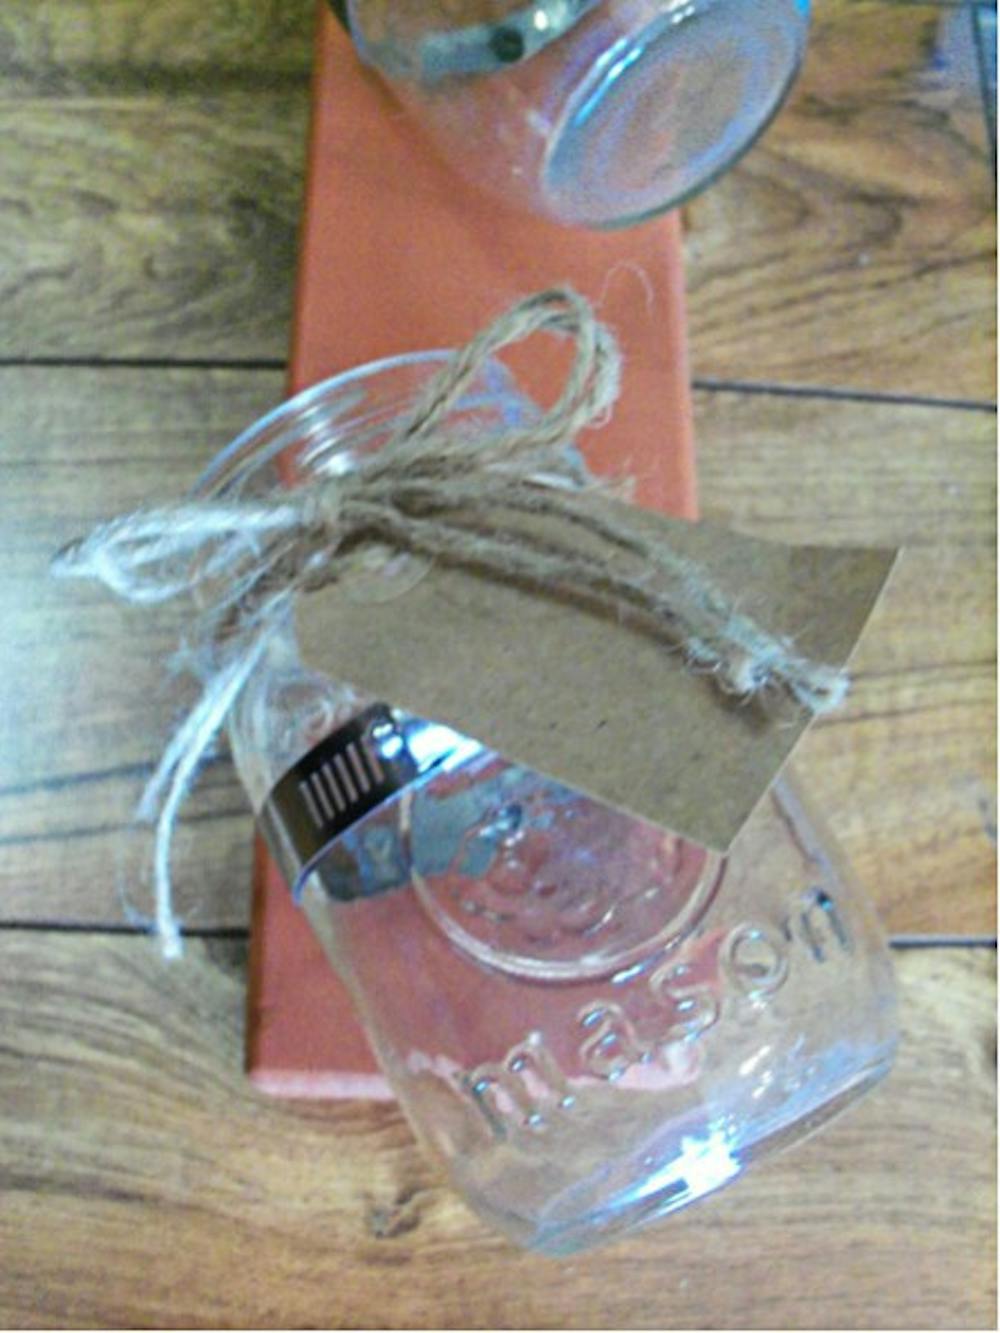
Tighten your jars into the clamps. Make sure they’re tight enough so they won’t fall out, but not so tight that the jar might shatter.
If you didn’t screw the clamps too tight to the board in the last step, this is the point where you can angle the jars and arrange them in any way you want. Slightly put pressure in the direction you want the jars to lean.
Step 5:
Attach some sort of hooks to the back of your storage hanger so they will hang off of nails in the wall. Depending on how many jars you used, these can get fairly heavy.
Make sure you use sturdy enough hooks to support the weight. I used a figure eight hook, designed to support heavier objects. One is enough for a vertical hanger, but make sure you use two equally spaced for a horizontal one.
Step 6:
Decorate your jars: This is the point where you can be really creative with your project. Since I made two, I had the opportunity to make each a little different.
On one, I used chalkboard labels. On the other, I used plain, brown paper labels attached with twine bows. You can use ribbons, stickers, glitter, paint, or any of your favorite craft supplies on your jars to really make this project your own unique design.


